Phone:
TBA
Physical address:
TBA
Scaffold Dismantling Procedures – When dismantling scaffolding, start with a thorough pre-dismantling assessment to spot any damage or wear. Wear all necessary safety gear like hard hats, goggles, gloves, and non-slip footwear, especially during the erection or dismantling of scaffolds. Identify common hazards such as falling objects and structural instability. Follow a specific sequence: remove guardrails, planks, braces, frames, and then the base plates. Communicate clearly within your team and use proper lifting techniques to avoid injuries. After dismantling, clean up the site and inspect components for damage. Ensure you’re following all safety standards and regulations—you’ll find there’s more to ensuring a smooth and safe dismantling process. Go back to Scaffold for Hire Home Page.
Before dismantling the scaffold, you should conduct a thorough pre-dismantling assessment to ensure safety and efficiency. Begin by inspecting the scaffold for any visible damage or wear. Check all components, including the planks, frames, and cross braces, to ensure they’re in good condition. Any compromised parts should be flagged for repair or replacement before you proceed.
Next, review the scaffold’s structural integrity. Confirm that all connections are secure and that the scaffold hasn’t shifted or settled unevenly. Look out for signs of instability, such as leaning or wobbling. If you notice any of these issues, address them before moving forward with dismantling.
You’ll also need to verify that the scaffold’s load hasn’t exceeded its capacity. Remove any unnecessary materials, tools, or debris from the scaffold platform. This not only reduces weight but also minimizes the risk of falling objects during the dismantling process.
Ensure that the working area around the scaffold is clear of obstacles and hazards. This includes checking for overhead power lines and other potential dangers that could interfere with safely dismantling the scaffold. Communicate with other workers on-site to make sure everyone is aware of the dismantling schedule and plan.

Lastly, review the original scaffold assembly plans and guidelines. Understanding the scaffold’s design and construction will help you dismantle it systematically. Follow the disassembly sequence outlined in the manufacturer’s instructions, which is crucial for maintaining safety and preventing accidents during scaffold erection or dismantling.
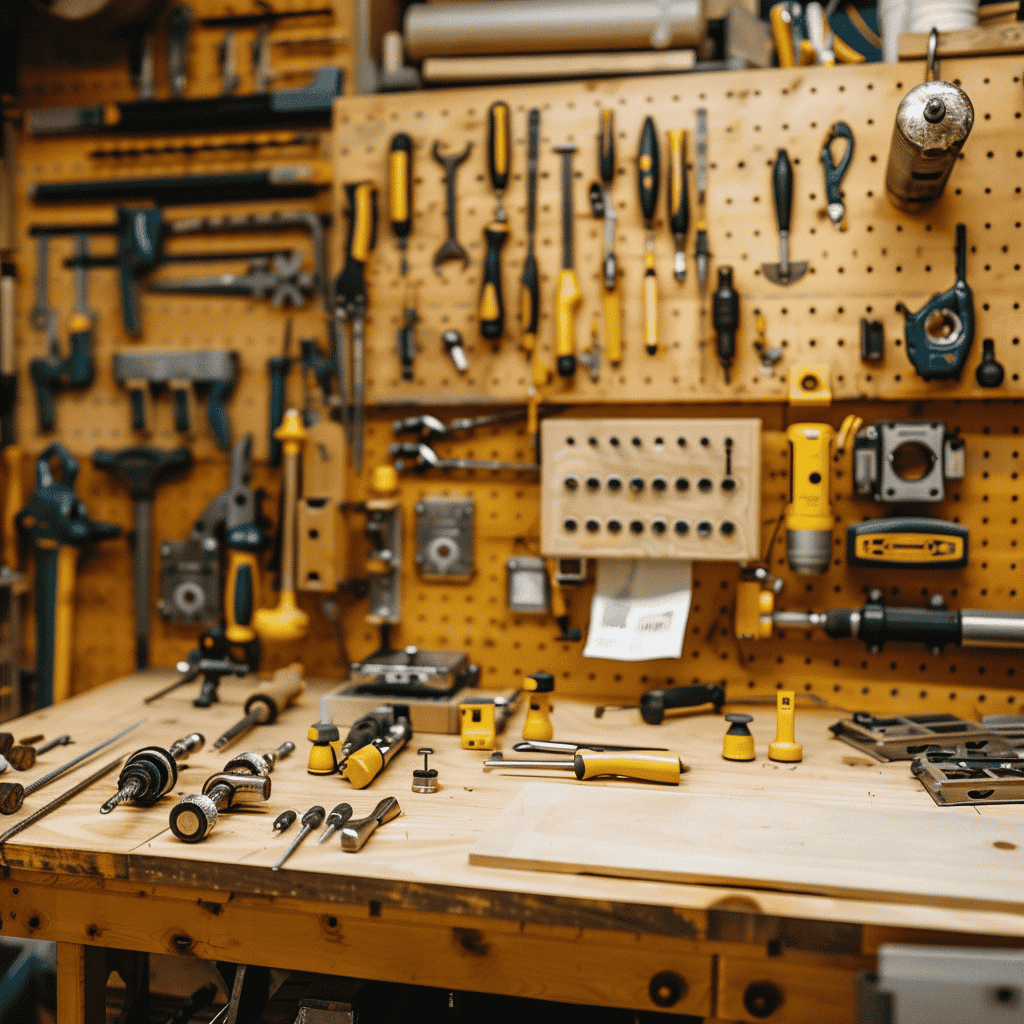
Equipping yourself with the proper safety gear and tools is essential for ensuring a safe and efficient scaffold dismantling process. You can’t afford to overlook the importance of each piece of equipment, as they collectively offer protection against various risks. First and foremost, you need to prioritize head protection. A sturdy hard hat will protect you from falling debris and potential head injuries. Additionally, wearing safety goggles or a face shield is crucial to prevent eye injuries from dust and small particles.
Hand protection is another critical aspect, especially during scaffold erection or dismantling. Sturdy gloves will safeguard your hands from sharp edges and abrasive surfaces. Make sure your gloves fit well, providing both protection and dexterity.
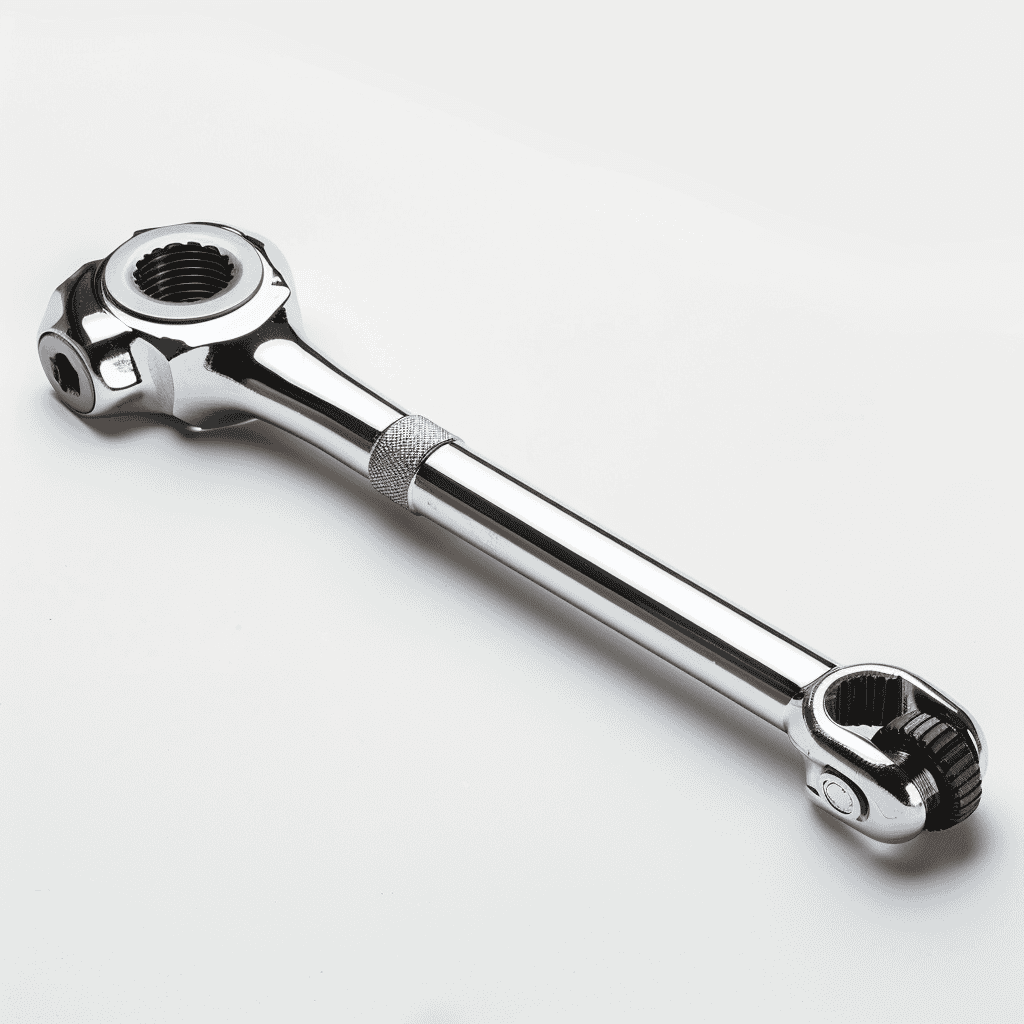
Here are four key items you should never dismantle a scaffold without:
Non-slip footwear is also indispensable. It enhances stability and reduces the risk of slips and falls, which are common hazards when working at heights. When choosing footwear, opt for shoes or boots with good ankle support to prevent sprains or twists.
When dismantling scaffolds, you need to identify common hazards like falling debris and unstable structures. Ensure you dismantle in the reverse order of erection to maintain stability. Conduct a thorough risk assessment to pinpoint potential dangers. Then, implement safety precautions to protect yourself and your team.

Identifying common dismantling hazards is crucial to ensuring the safety of everyone involved in the process. When you’re dismantling scaffolding, you’re exposed to various risks that could lead to severe injuries or worse. Being aware of these hazards can help you take preventive measures and avoid accidents.
Consider these common hazards:
Before starting the dismantling process, it’s essential to conduct a thorough risk assessment to identify potential hazards. This step ensures you and your team are fully aware of any dangers that could arise during the task. Begin by examining the worksite for any structural issues with the scaffold itself. Check for loose connections, unstable parts, or signs of wear and tear that could compromise safety.

Next, evaluate the surrounding environment. Consider factors like weather conditions, nearby machinery, and other ongoing activities that might pose a risk. Identifying these elements helps you plan for safe dismantling.
Also, review the tools and equipment you’ll be using. Ensure they’re in good working condition and appropriate for the task at hand. Faulty gear can lead to accidents, so this step is crucial.
Finally, consider the human factor. Assess the experience level and competency of your team to ensure a smooth scaffold installation and dismantling process. Make sure everyone understands their role and the specific risks involved in dismantling the scaffold.
Prioritize safety by systematically identifying potential hazards before beginning the scaffold dismantling process. You’ll need to be thorough in assessing the work environment and the equipment you’ll be using. This step is crucial to prevent accidents and ensure the well-being of everyone on site.

Start by examining the scaffold structure itself. Look for signs of wear, damage, or instability and ensure all components are intact. Next, consider the environmental conditions, such as weather, lighting, and ground stability, which could impact the dismantling process.
Here are key areas to focus on:
When you’re dismantling scaffolding, start by ensuring everyone has the proper safety gear. Next, follow a specific order for removing components to maintain stability and prevent accidents. Finally, don’t forget to clean up the site to avoid any leftover hazards.
Ensuring you’ve got the right safety gear is crucial for a secure scaffold dismantling sequence. Without the appropriate gear, you’re putting yourself and others at risk of serious injury. Start by wearing a hard hat to protect your head from falling debris. Scaffold dismantling often involves working at heights, so a full-body harness is indispensable to prevent falls.
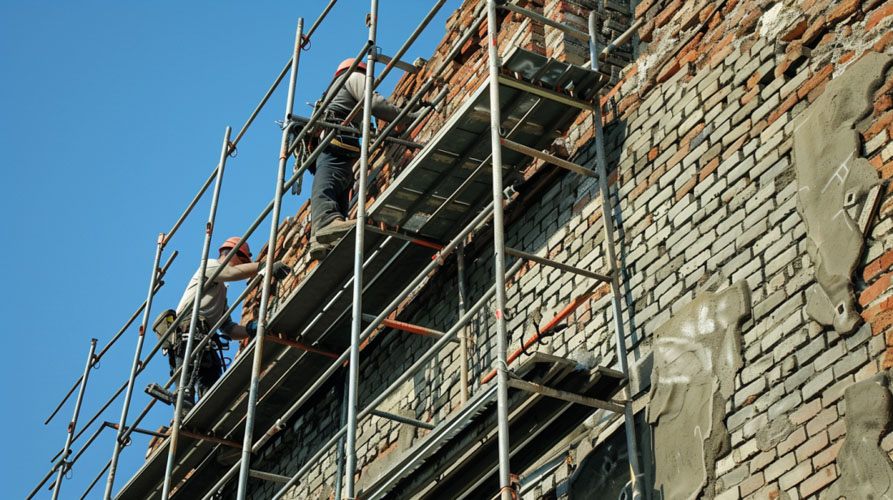
Additionally, make sure you have non-slip work boots to maintain stability on potentially slippery surfaces. Your hands are your primary tools, so durable gloves will safeguard them from sharp edges and splinters. Here’s a quick checklist of essential safety gear you shouldn’t overlook:
Equipped with this gear, you’ll mitigate many of the common hazards associated with dismantling scaffolding. Remember, consistent use of the correct safety equipment isn’t just a good practice—it’s a critical step in maintaining a safe work environment.
To safely dismantle a scaffold, it’s crucial to follow a specific component removal order to prevent structural instability and accidents. Start from the top and work your way down, ensuring that the scaffold remains balanced throughout the process. Always remove one section at a time, and never take out a component that supports another piece still in use. Here’s a quick guide to help you:
Efficient site clean-up ensures safety and prepares the area for future tasks. After dismantling the scaffold, it’s crucial to manage the site meticulously to avoid hazards and ensure everything is ready for the next phase of work. Start by organizing and segregating all scaffold components. This not only helps in inventory management but also makes future projects smoother.
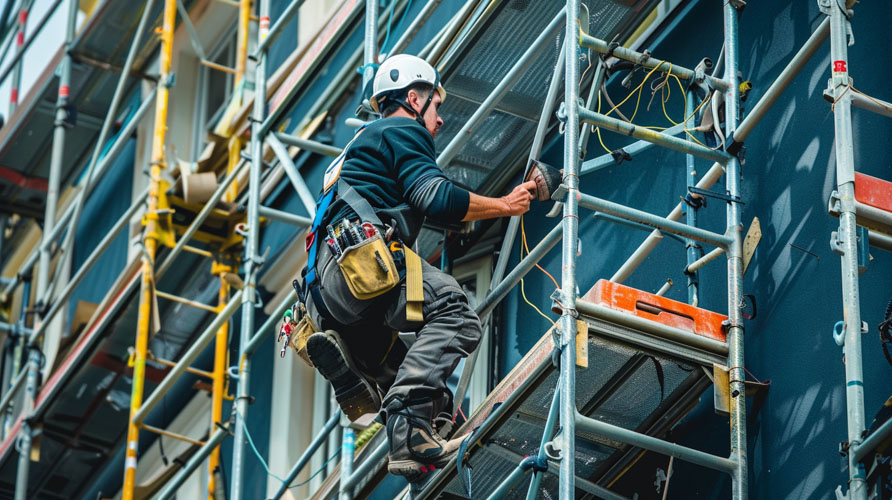
Next, focus on removing any debris or waste materials left behind. It’s essential to keep the work area free from obstructions to prevent accidents. Use appropriate disposal methods for different types of waste, whether recyclable or hazardous.
To make the clean-up process more effective, consider the following steps:
Effective team coordination is crucial for the safe and efficient dismantling of scaffolds. You need to make sure everyone on the crew understands their specific roles and responsibilities. Clear communication is key; using hand signals, radios, or verbal instructions can ensure that everyone is on the same page. Before you start, hold a brief meeting to review the dismantling plan and address any potential hazards.
Assign tasks based on each team member’s experience and skills. For instance, more experienced workers should handle complex tasks, while newer members can assist with simpler ones. It’s important to rotate tasks when possible to keep everyone engaged and reduce fatigue. Make sure you maintain a buddy system, where each worker has a partner to watch their back, ensuring no one is left in a vulnerable position.
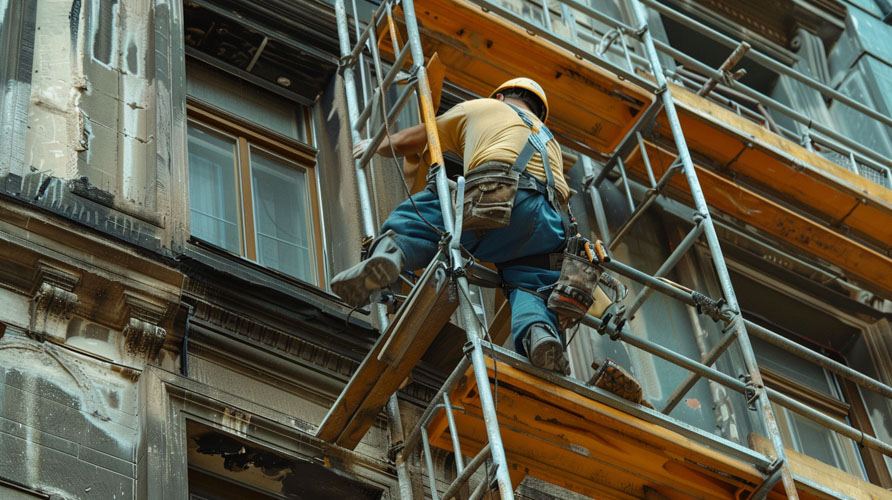
Coordination also involves timing, particularly during the erection and dismantling phases. You should synchronize your movements to avoid chaos and accidents. For example, if one team member is loosening bolts, another should be ready to secure the scaffold to prevent unexpected collapses. Always work from the top down and dismantle one section at a time to maintain stability.
Safety briefings before and during the dismantling process can address any issues as they arise. Encourage team members to voice concerns or suggestions; this fosters a culture of safety and collaboration. Lastly, make sure everyone understands the importance of not rushing. Speed should never compromise safety. By maintaining strong team coordination, you’ll ensure that the scaffold dismantling process is both safe and efficient, keeping everyone protected and on track.
Handling scaffold components safely is essential to prevent injuries and ensure the dismantling process goes smoothly. Always follow installation and dismantling best practices. When you’re working with these heavy and sometimes awkward pieces, it’s crucial to follow best practices to maintain safety and efficiency. Here are some key points to keep in mind:

In addition to these points, remember to work at a steady pace. Rushing through the process can lead to mistakes and increase the risk of injury. Each piece should be handled with care, ensuring that you don’t drop or mishandle any components. Inspect each part as you go, looking for any damage that might have occurred during use. Damaged components should be set aside and reported immediately.
After dismantling the scaffold, it’s crucial to promptly clean up the site to ensure safety and organization. Leaving the area cluttered can pose risks like tripping hazards, obstructed pathways, and potential injuries. Start by gathering all the scaffold components and stacking them neatly in their designated storage areas. This not only keeps the site tidy but also makes it easier to find and use these parts in the future.
Next, focus on clearing any debris, tools, or materials that might have accumulated during the dismantling process. Sweep the area thoroughly, paying extra attention to small parts like screws and bolts, which can be easily overlooked but pose significant risks. Make use of appropriate disposal methods for any waste materials to maintain an eco-friendly approach.
Ensuring safety and compliance, a thorough post-dismantling inspection is essential to identify any lingering issues or hazards. Once the scaffold has been dismantled and the site cleaned up, you’ll want to make sure that everything is in order. This inspection helps prevent accidents and ensures that all components are properly accounted for and stored for future use.
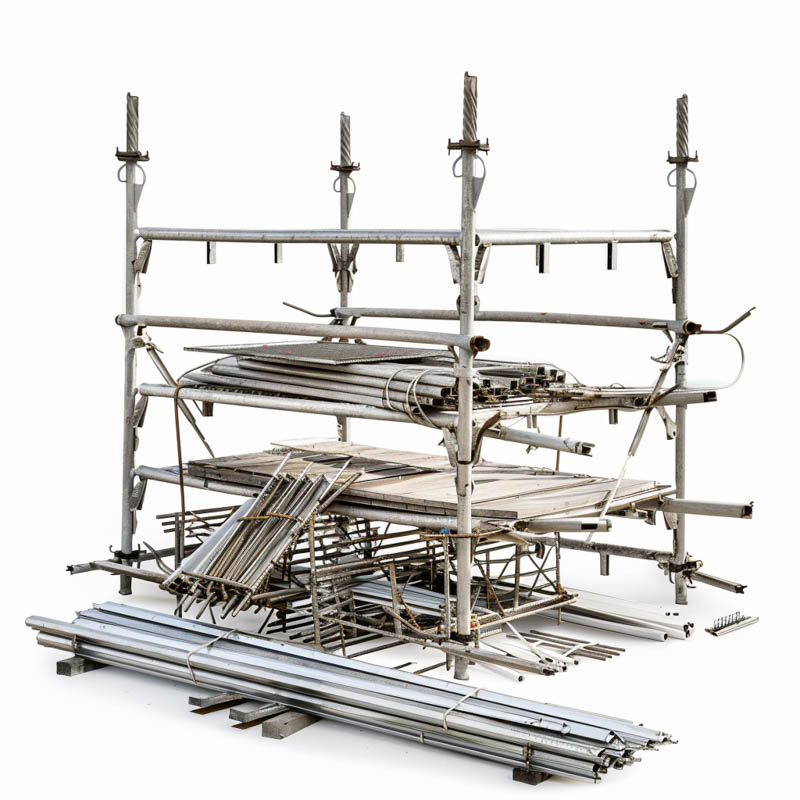
During your post-dismantling inspection, focus on the following key areas:
You’re often dealing with safety risks, coordination issues, and time constraints. Ensuring everyone follows protocols and communicates effectively can be tough. Plus, unpredictable weather and site conditions add another layer of complexity to the process.
You should document the dismantling process by noting dates, times, personnel involved, and any incidents. Ensure you’re using standardized forms and keeping a detailed log to comply with safety regulations and facilitate audits.
Yes, there are specific training requirements for dismantling teams. You need to ensure everyone’s trained in hazard recognition, proper techniques, and safety protocols, including manufacturer-specific instructions for both erection and dismantling. It’s essential for compliance and preventing accidents during the dismantling process.
You should store dismantled scaffold components in a dry, secure area. Organize them by type and size, and use racks or shelves to keep everything off the ground. Labeling each section helps with easy access and inventory management.
To minimize noise during dismantling, you should use padded tools and avoid dropping components. Work steadily and communicate with your team to ensure a smooth process. Using noise-reducing mats can also greatly help in reducing sound.